*Subscribe to my Patreon to get downloadable PDF versions of all my free crochet patterns! Available with all tiers. Join here!*
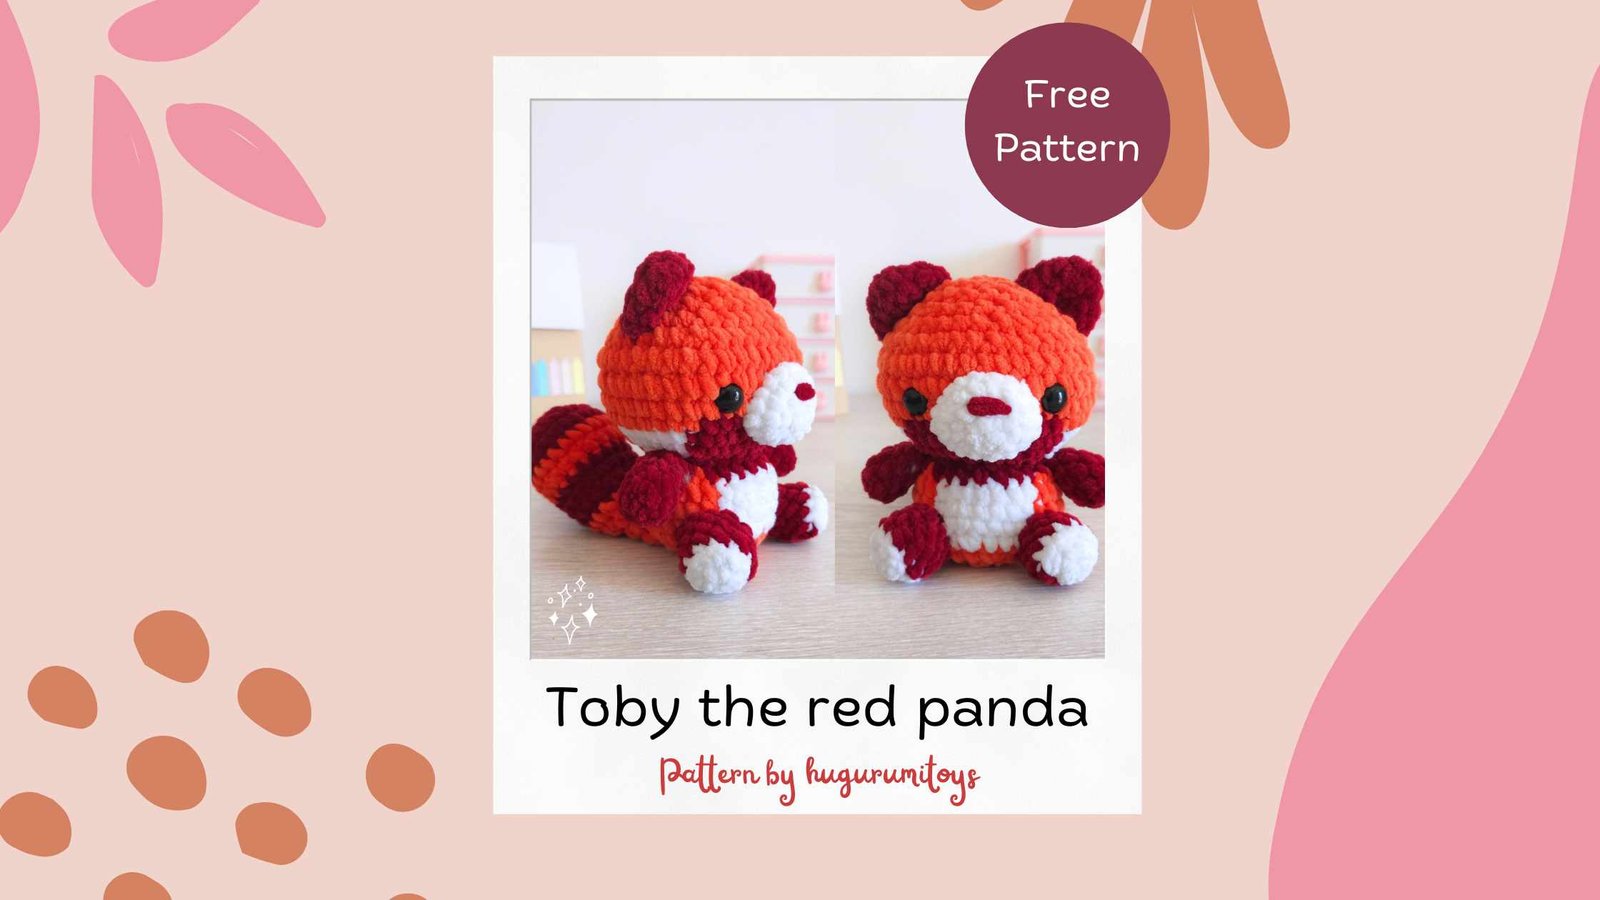
I’m excited to introduce Toby the Red Panda, a free crochet pattern perfect for all skill levels. Toby is an adorable amigurumi project that’s fun and easy to make. Follow along with this step-by-step guide and create your own cute red panda.
About :
This pattern is the intellectual property of Hugurumitoys. Use, copying, or sharing of this pattern on social media, blogs, or any other channels is not allowed. Republishing this pattern in any form is strictly prohibited. Any violation will be reported as an infringement of intellectual property and will result in legal action.
This pattern is written using US terms and is worked in continuous rounds, unless stated otherwise. If you use different hooks and yarn sizes, you may have to change safety eyes accordingly. Using the listed materials, the plushie will be around 18 cm tall.
If you prefer the PDF version click here
Materials :
• 14 mm safety eyes (Buy here)
• Stitch Marker
• Fiber fill (Buy here)
• Yarn needles
• Chenille yarn 100 gr./120 m. Honey bunny (Buy here)
Abbreviations:
• MR – Magic ring
• CH – Chain
• SC – Single Crochet
• INC – Increase
• DEC – Invisible Decrease
• BLO – Back loop only
• CC – Color change

Legs x 2
Start in white.
Rnd 1. 5 sc into MR (5)
Rnd 2. 5 inc (10) CC to red
Rnd 3. In BLO 10 sc (10)
Rnd 4 to 5. (2 rounds) 10 sc (10)
Rnd 6. Make only 5 sc and leave this round incomplete
Fasten off leaving a long tail for sewing. Stuff with fiberfill.

Arms x 2
In red.
Rnd 1. 8 sc into MR (8)
Rnd 2 to 4. 8 sc (8) Stuff lightely
Rnd 5. (2sc, dec) x 6 (6)
Fasten off leaving a long tail for sewing.

Muzzle
In white.
Rnd 1. 6 sc into MR (6)
Rnd 2. 6 inc (12)
Rnd 3. 2 sc, 3 inc, 3 sc, 3 inc, 1 sc (18)
Rnd 4. 18 sc (18)
Fasten off leaving a long tail for sewing. Embroider the nose with a bit of red yarn between rounds 2/3, along 4 stitches.
Body to head
For the body we will use 3 colors orange, white and red.
Here is a legend for the color changing
CCW – Change to white
CCO – Change to orange
CCR – Change to red
Start in orange.
Rnd 1. 6 sc into MR (6)
Rnd 2. 6 inc (12)
Rnd 3. (1sc, inc) x6 (18)
Rnd 4. 1 sc, inc, (2sc, inc) x5, 1 sc (24)
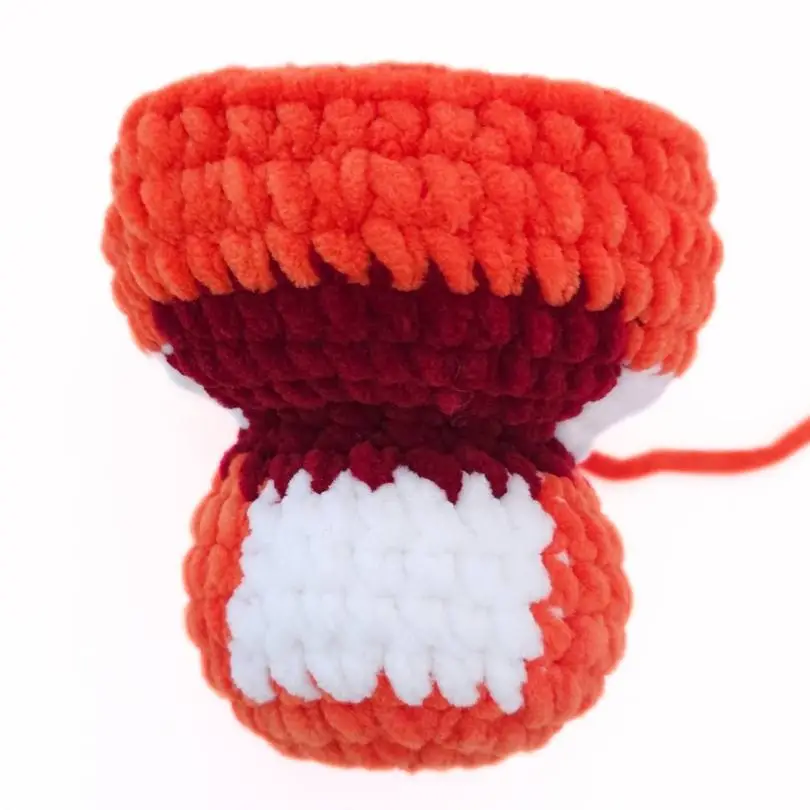
Rnd 5 . (3sc, inc) x 2, CCW 3 sc, inc, 2 sc, CCO 1 sc, inc, (3sc, inc) x 2 (30)
Rnd 6 to 8. (3 rounds) 10 sc, CCW 7 sc, CCO 13 sc (30)
Rnd 9. CCR (3sc, dec) x 6 (24)
Rnd 10. (2sc, dec) x 6 (18) CCO
Rnd 11. 3 inc, CCW 3 inc, CCR 6 inc, CCW 3 inc, CCO 3 inc (36)
Rnd 12. 5 sc, inc, CCW 5 sc, inc, CCR (5sc, inc) x 2, CCW 5 sc, inc,
CCO 5sc, inc (42)
Rnd 13. 7 sc, CCW 7 sc, CCR 14 sc, CCW 7 sc, CCO 7 sc (42)
Start to fill the body with fiberfill.
Rnd 14. 15 sc, CCR 12 sc, CCO 15 sc (42)
From now on we will continue witht the orange only, you can cut the other colors.
Rnd 15 to 17. (3 rounds) 42 sc (42)
Rnd 19. (5sc, dec) x 6 (36)
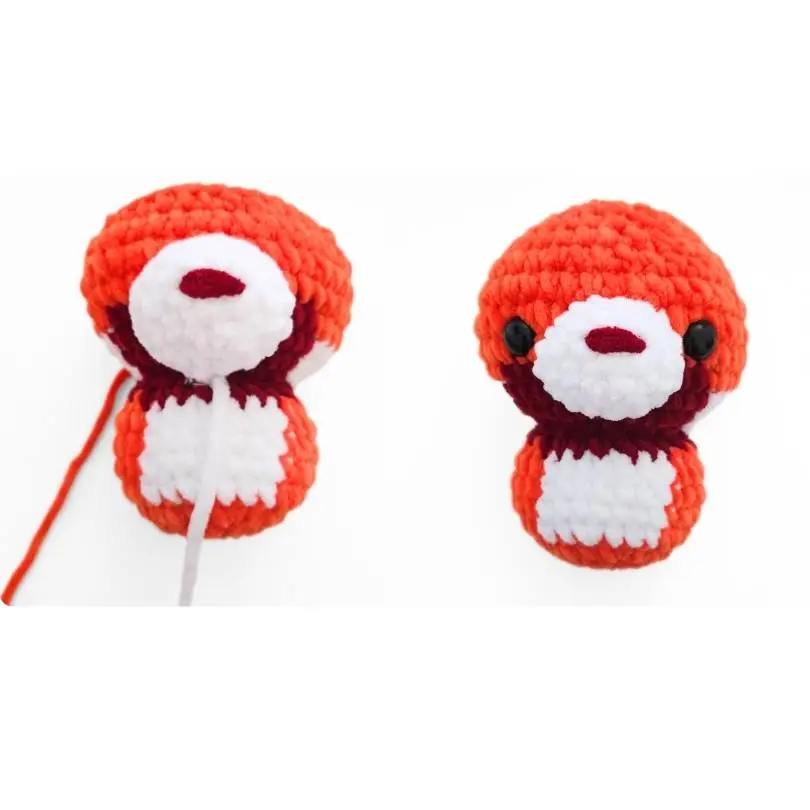
Sew the muzzle between rounds 13/16, in the middle. Fill it with fiber fill while sewing. Insert safety eyes between rounds 15/16, at the sides of the muzzle (see pictures for reference).
Rnd 20. (4sc, dec) x 6 (30)
Rnd 21. (3sc, dec) x 6 (24)
Start to fill with fiberfill and continue to fill as you go.
Rnd 22. (2sc, dec) x 6 (18)
Rnd 11. (1sc, dec) x 6 (12)
Rnd 12. 6 dec (6)
Fasten off leaving a long tail for sewing. With a yarn needle, insert your hook in the FLO of the 6 stitches left then pull firmly to close it.
Tail
In red.
Rnd 1. 6 sc into MR (6)
Rnd 2. 6 inc (12)
Rnd 3. (1sc, inc) x 6 (18)
Rnd 4. 1 sc, inc, (2sc, inc) x5, 1 sc (24)
Rnd 5. 24 sc (24) CCO
Rnd 6. 24 sc (24)
Rnd 7. (2sc, dec) x 6 (18) CCR
Rnd 8 to 10. (3 rounds) 18 sc (18)
Rnd 11. CCO 18 sc (18)
Start to fill with fiberfill.
Rnd 12. 1 sc, 4 dec, 9 sc (14)
Rnd 13. 1 sc, 3 dec, 7 sc (11)
Rnd 14. 11 sc (11)
Do not stuff the last 3 rounds.
Fold the end and close the tail with 5 slst. Leave a long tail for sewing.

Ears x 2
In red.
Rnd 1. 6 sc into MR (6)
Rnd 2. (1sc, inc) x3 (9)
Rnd 3. 1 sc, inc, (2sc, inc) x 2, 1 sc (12)
Rnd 4. (3sc, inc) x 3 (15)
Fasten off leaving a long tail for sewing.
To finish
- Sew the arms on both sides of rnd 9
- Sew the legs between rounds 4/5. The longest part (where you made 5 sc in the last incoplete round) should be on the outside, following the shape of the body.
- Sew the ears between rounds 19/22, 3 stitches apart looking from the top.
- Sew the tail between rounds 4/6. Sew the bottom first, in the middle of round 4 of the body, then bring the tail on rnd 12 of the tail and make few stitches on the rnd 6 of the body to keep the tail in place.

Thank you!
Congrats!
You’ve finished your Toby the red panda!
I hope you had fun making it and I’d love to see yours! Please tag me on Instagram @hugurumitoys if you post them!
If you liked this pattern please leave a review and let me know what you think about it!
Wanna get best deals and exclusive contents? Join my Patreon!
Thank you and Happy Crocheting!